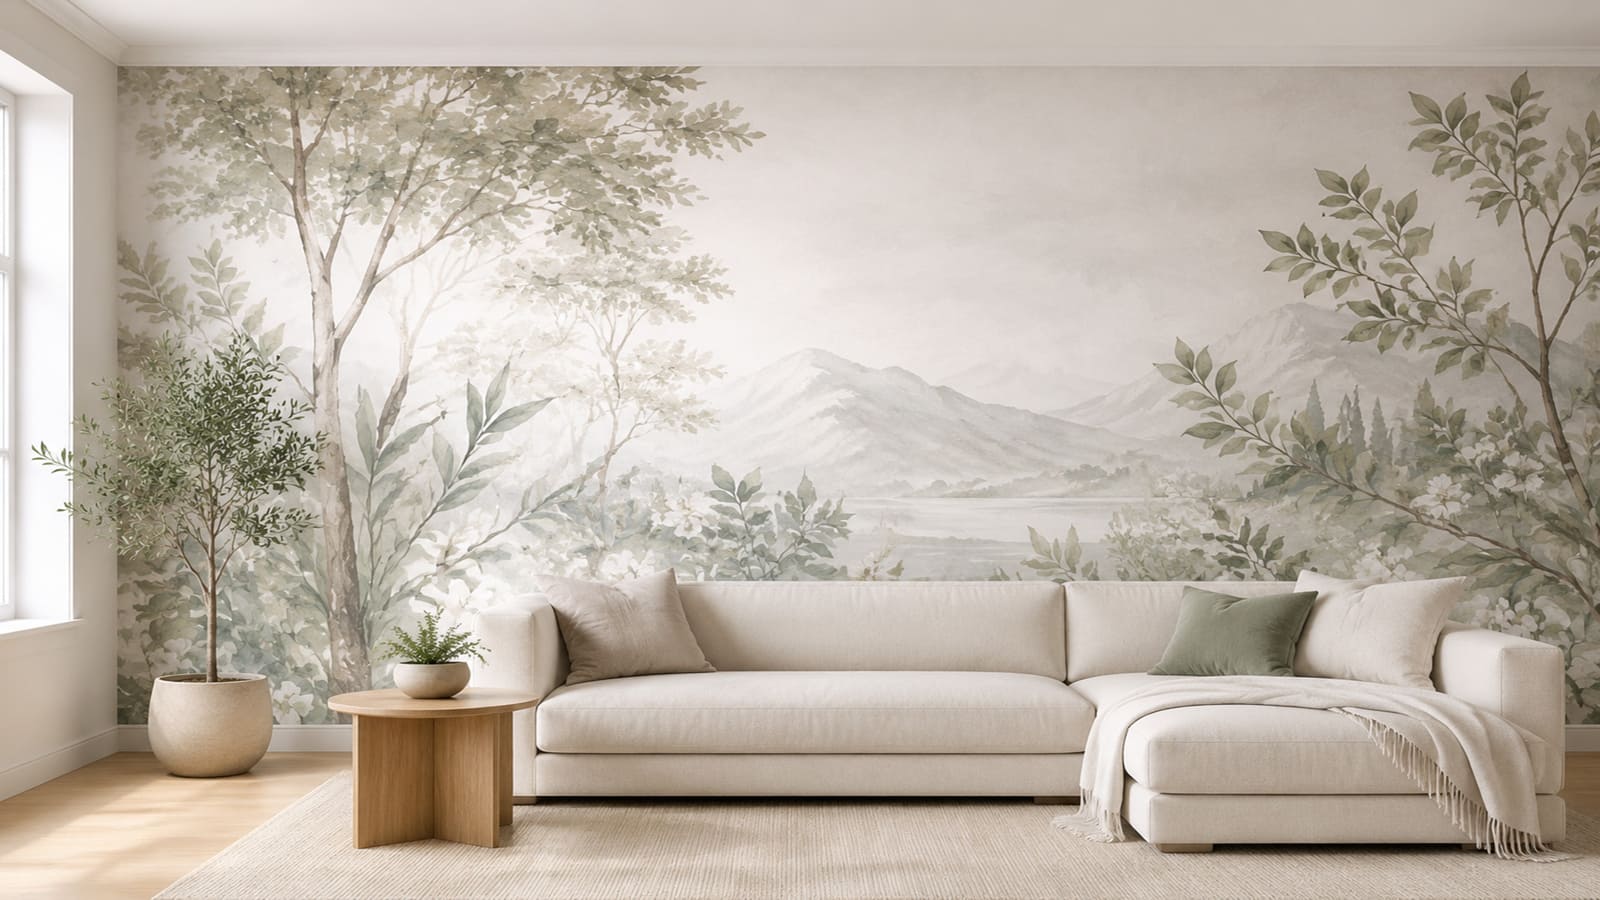
Installing your wallpaper mural is simple. You do not need professional
equipment or previous experience. Read the instructions before starting,
take your time and follow the panels from left to right.
What You Will Need
Only a few simple items are needed. The correct amount of wallpaper
adhesive is already included with your order.
●
Clean bucket
▥
Brush or roller
□
Clean soft cloth
✂
Scissors or sharp knife
Before You Start
Check that the wallpaper design and dimensions match your order.
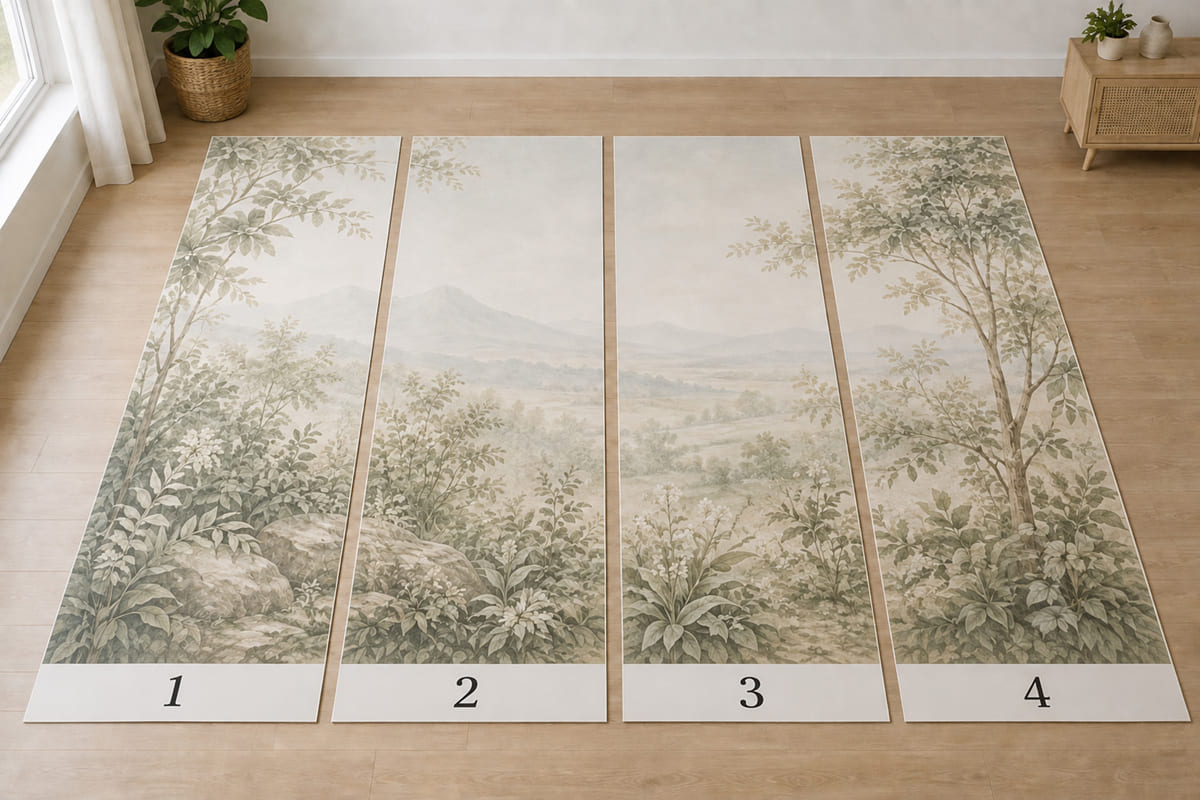
Unroll the panels and place them in their numbered order.
Make sure the wall is clean, dry and reasonably smooth.
Remove any dust, loose paint, nails or old wallpaper.
Installation Steps
Work with one panel at a time and continue from left to right.
Step 1
Arrange the Panels
The panel numbers are printed on a white strip.
Panel 1 starts on the left. Place the remaining panels next to it
in numerical order and check that the image matches.
Cut away the white numbered strips before installation.
Check the panel joins
Depending on your order, the panels may meet edge to edge or use a
1.5 cm overlap. Place two neighbouring panels together before
applying adhesive to see how they match.
Step 2
Prepare the Adhesive
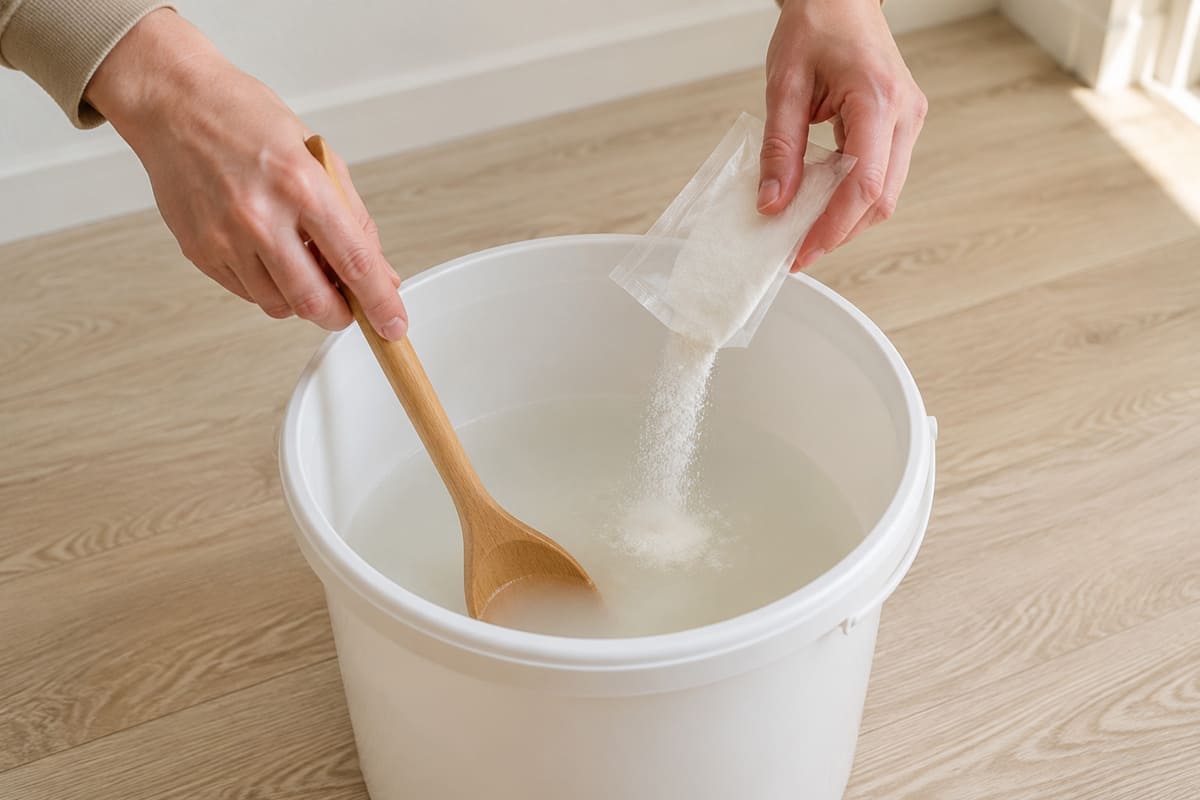
Fill a clean bucket with the correct amount of clean water.
Slowly pour in the adhesive powder while stirring with a large
spoon or another clean household utensil.
Continue stirring for approximately 3–4 minutes until the adhesive
becomes smooth and thicker.
Adhesive package
Water required
Narrow, long package
1.5-2 litres per package
Square package
3.5–4 litres per package
Please check the package
If you have more than one adhesive package, increase the amount of
water accordingly. Always follow the instructions printed on the
package if they differ from this guide.
Step 3
Apply the Adhesive to the Wall
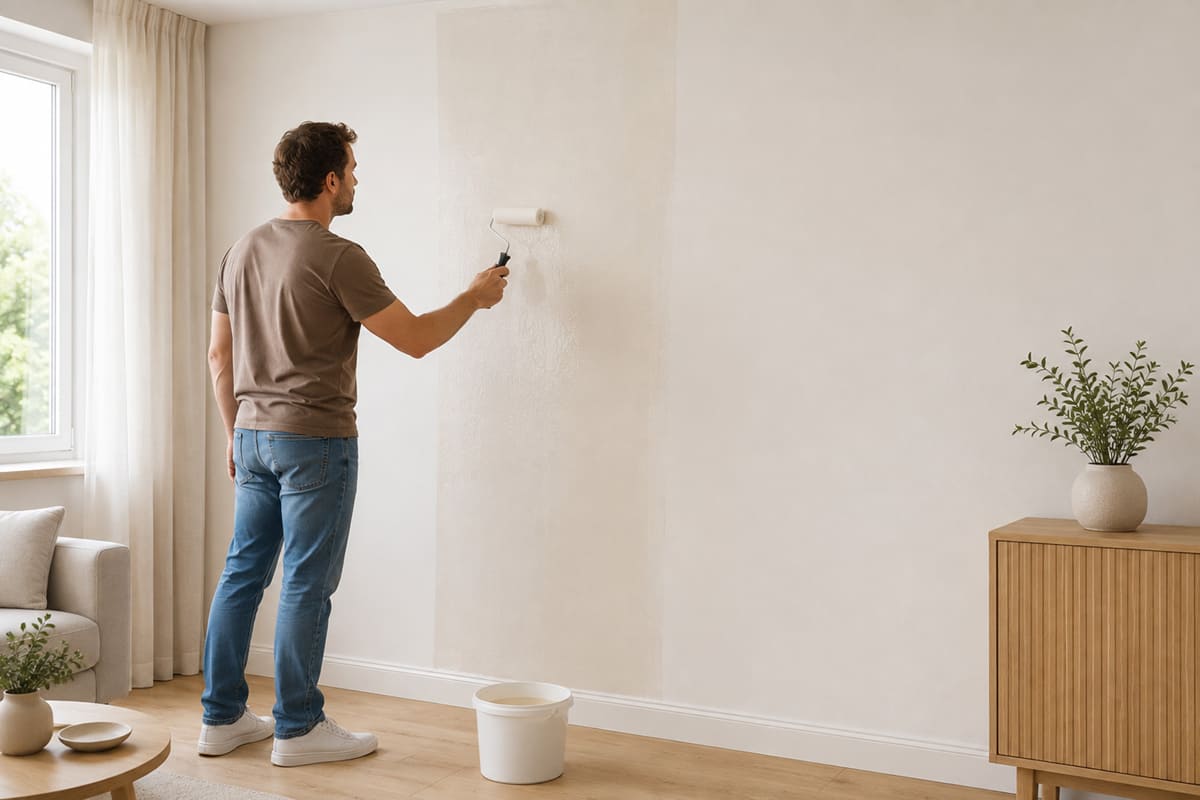
Use a brush or roller to spread an even layer of adhesive directly
onto the wall.
Apply enough adhesive for one panel at a time. Cover an area
slightly wider than the panel, including the edges.
There is no need to cover the entire wall with adhesive at once.
Step 4
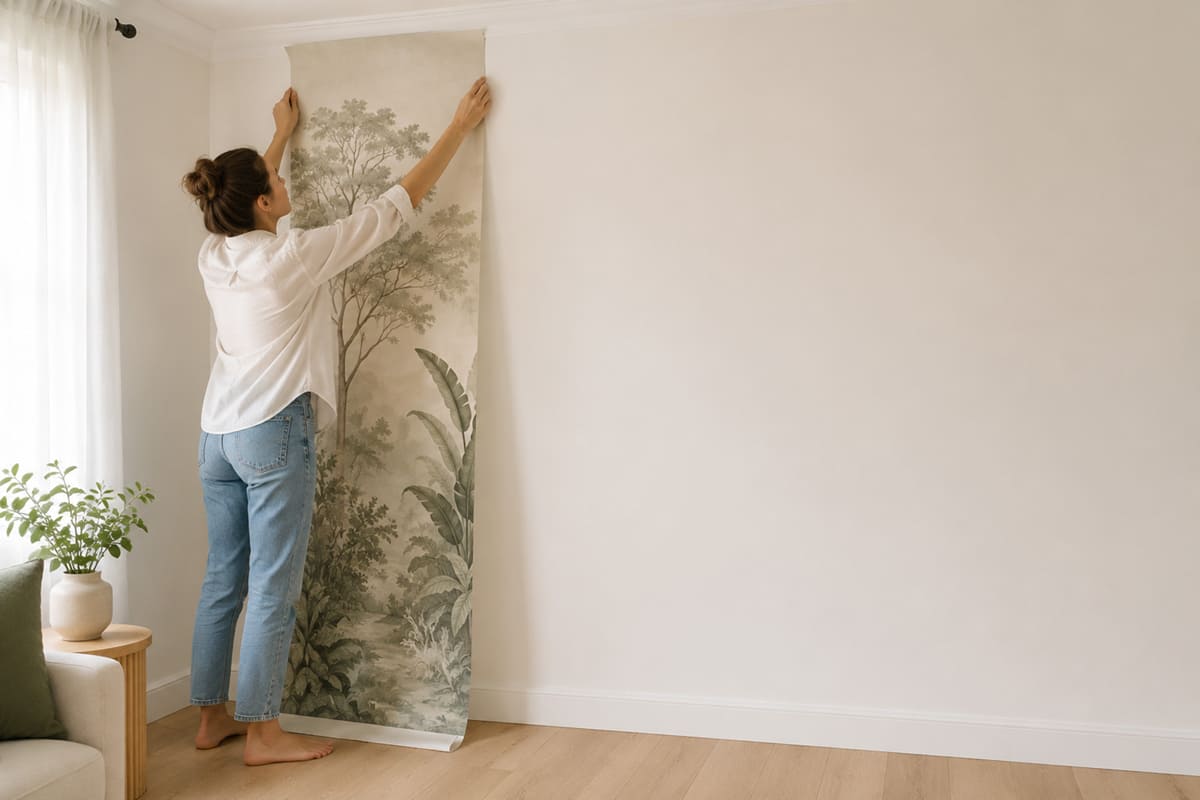
Place the First Panel
Start with panel 1 on the left side of the wall. Position the top
first, leaving a small amount of extra wallpaper above and below
for final trimming.
Gently press the panel onto the wall from top to bottom. While the
adhesive is still wet, you can carefully move the panel to correct
its position.
Step 5
Smooth and Add the Remaining Panels
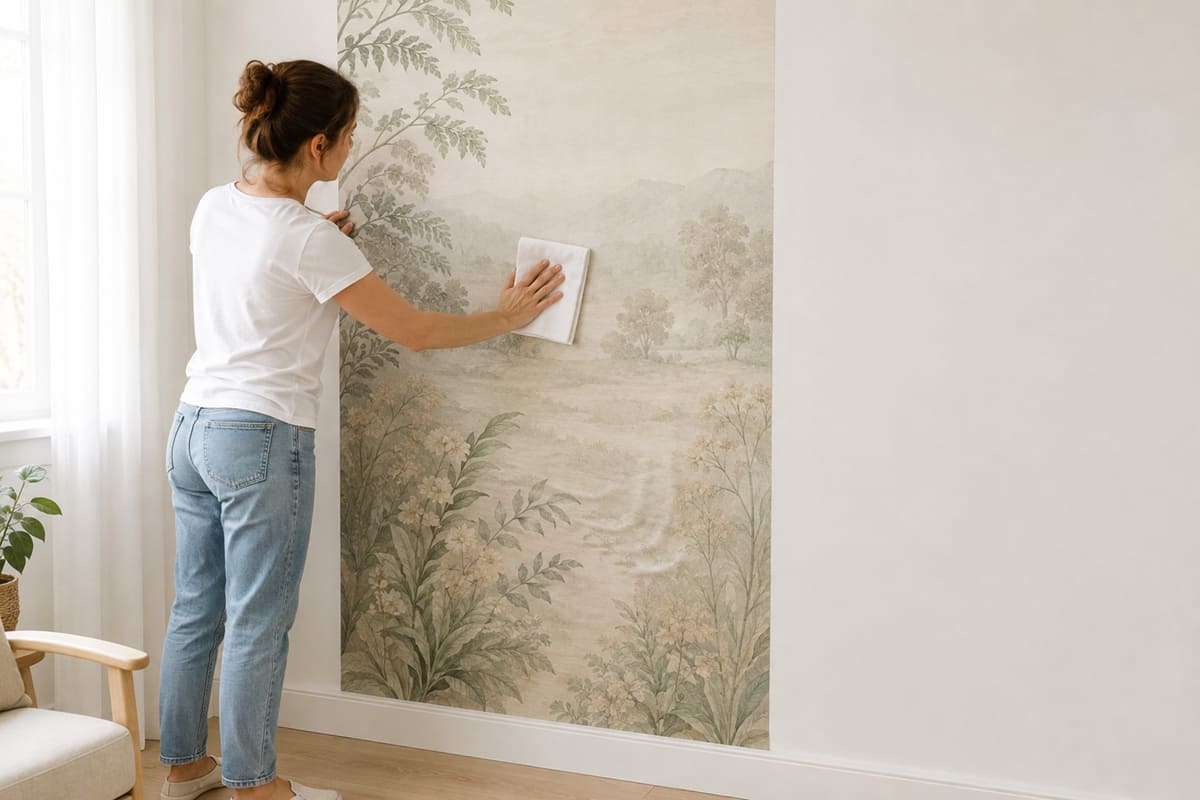
Use a clean, soft and slightly damp cloth to smooth the wallpaper
gently from the centre towards the edges. This helps remove any
trapped air.
Continue with the remaining panels from left to right. Carefully
match the image before smoothing each panel completely.
Use gentle pressure
Do not scrub the printed surface. If adhesive gets onto the front,
wipe it away immediately with a clean cloth moistened with water
and thoroughly wrung out.
Step 6
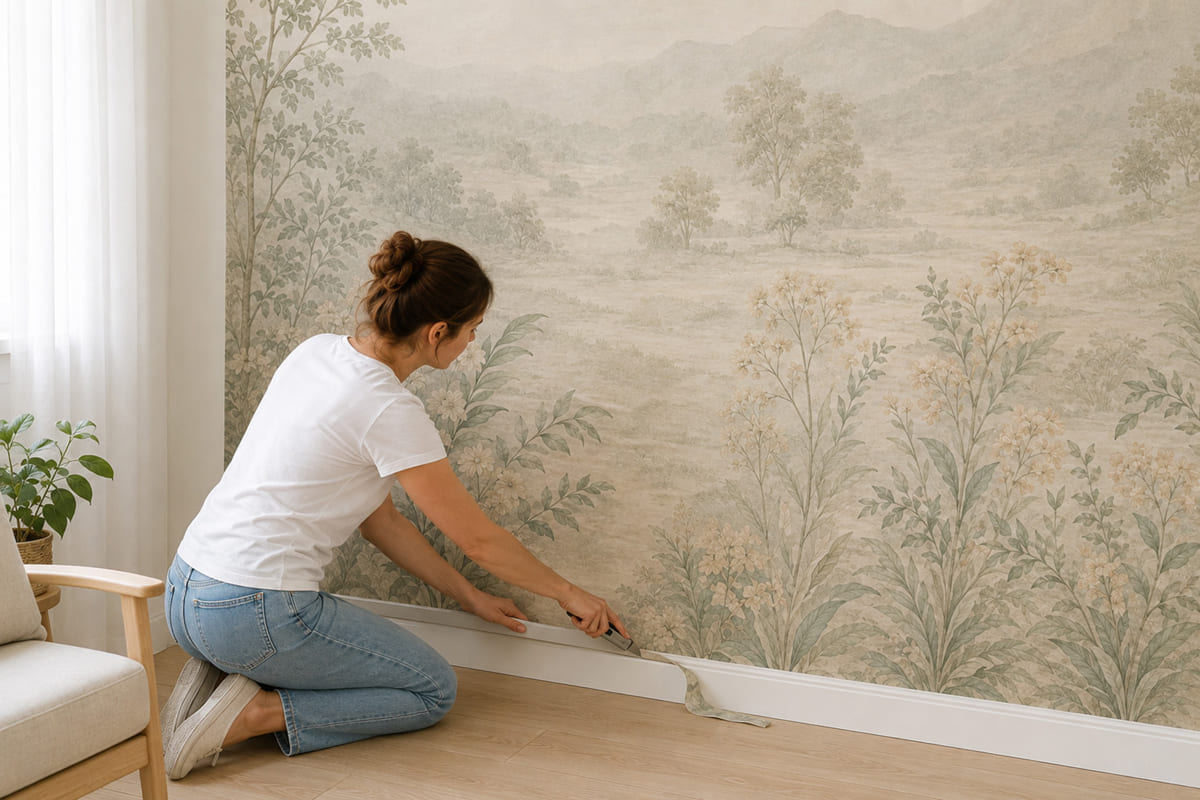
Trim and Leave to Dry
After all panels are in place, carefully trim the excess wallpaper
at the ceiling and floor with scissors or a sharp knife.
Allow the wallpaper to dry naturally. Avoid strong heat, open
windows and draughts while it is drying.
Do not worry
Small bubbles or slightly darker-looking joins may appear while the
wallpaper is wet. These normally disappear after it has dried
completely.
Care and Cleaning
Your wallpaper mural requires only simple and gentle cleaning.
Use a clean cloth moistened with water and thoroughly wrung out.
Wipe gently without applying hard pressure.
Do not use chemical cleaners, rough sponges or brushes.
Please check your wallpaper before applying adhesive. If the design,
dimensions or panels appear incorrect, stop the installation and contact
our customer support team.